

How can I see the modified mockup in preview?
1. Select a custom template
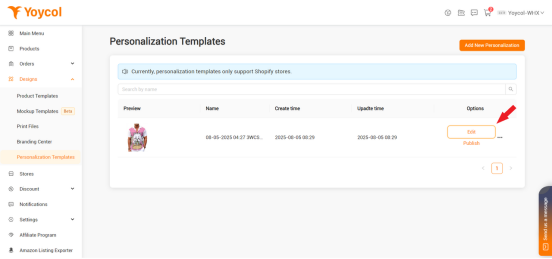
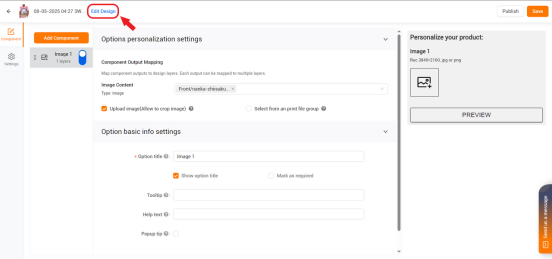
2. Enter the Designer
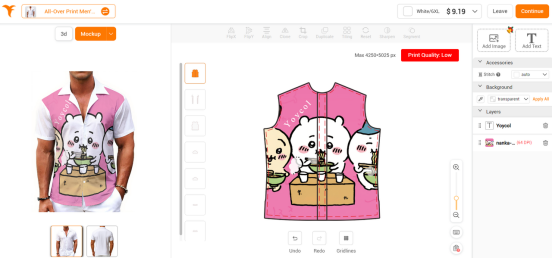
Here, the previous design drawing is used as an operational case.
2.1 Add 3 layers (1 image, 2 text boxes)
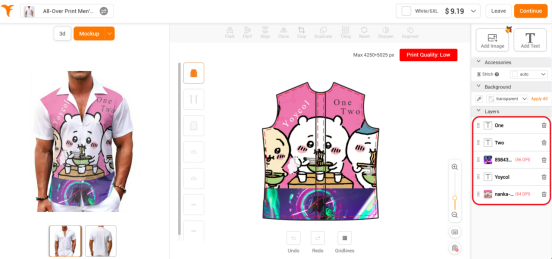
After adding a new image and two words, you can see that a black word appears in the upper right corner of the clothing rendering, and a new image appears below the rendering.
After the changes are completed, still click "continue" to return to the Personalization editing page.
3. Return to the Personalization edit page again
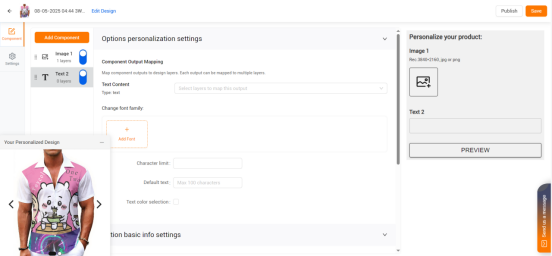
Under the preview, the newly added parts are visible. However, if each image or text is bound to a layer, then the component list under the "Add Component" button should have five items, rather than only two as currently shown, where "Text 2" still has 0 layers
3.1 Component List
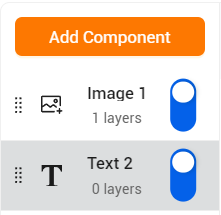
The component list still only contains the two previous components
3.2 Bind layers
1. One-to-Many
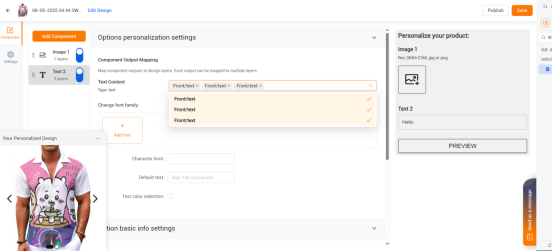
Actually, the "Text" component can be selected in "Text Content", where the two newly added text layers are located. Here, all three are selected, and by entering "Hello" in the text box, it can be found under preview that it will appear and cover the positions of the previous three texts.
2. One-on-one
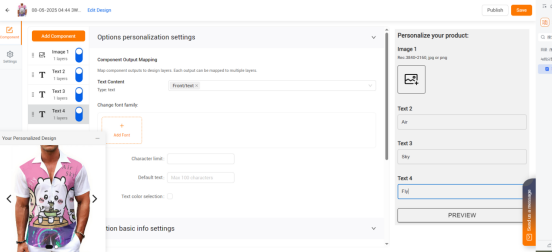
Similarly, not only for one-to-many, we can bind a layer to each text, so that different text content will be displayed, and the same applies to images
4. Precautions
If there are 2 layers in the designer, one for an image and one for text, then only these two layers will appear on the Personalization editing page. If you try to add more text or images on the editing page, it will fail because each image and text needs to be bound to a layer, which must be done by the designer.