Shopify is the gold standard for building a long-term print on demand brand. Unlike marketplaces where you're one listing among millions, Shopify gives you full control over your store, your brand, your customer data, and your pricing.
But there's a catch: Shopify doesn't have built-in traffic. You need to drive your own customers through SEO, social media, and marketing. And you need a POD app that integrates seamlessly to handle production and fulfillment.
This guide walks you through exactly how to set up a print on demand store on Shopify in 2026 — from theme selection to installing your POD app, importing products, pricing correctly, and driving your first sale.
For the broader context of launching a POD business across all platforms, our complete store setup guide covers everything. This article focuses entirely on Shopify.
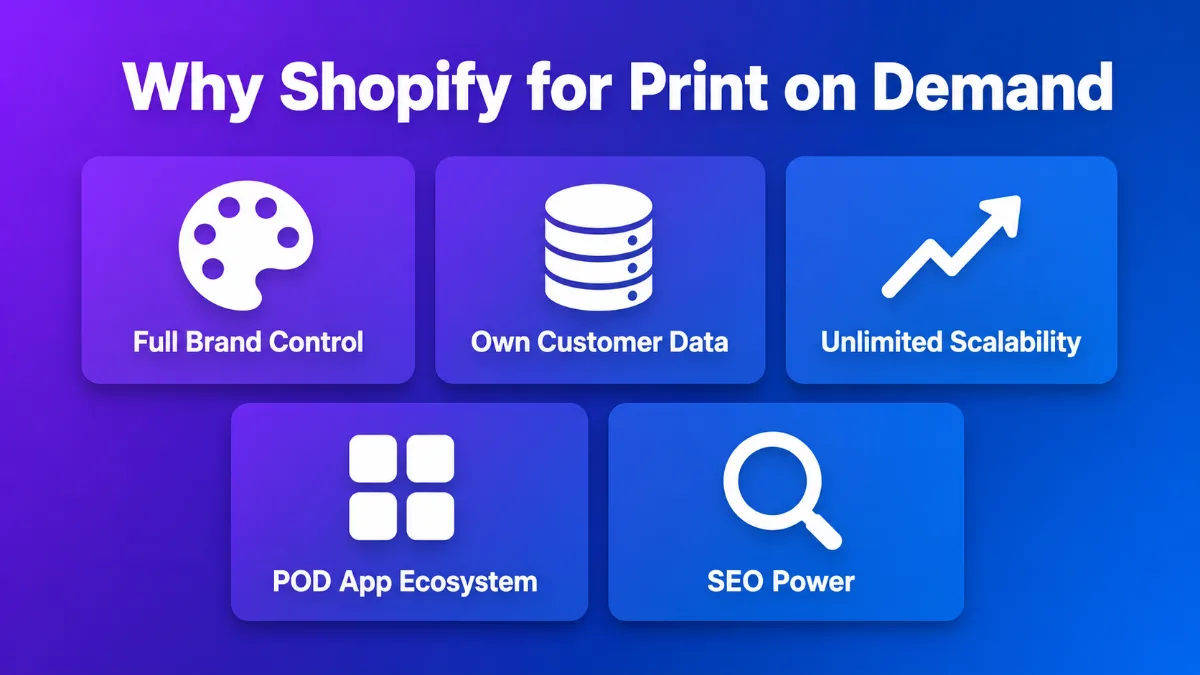
Why Shopify for Print on Demand?
Before we get into setup, let's understand why serious POD sellers choose Shopify over marketplaces.
Full Brand Control
On Etsy or Amazon, your store lives within their brand. On Shopify, your store is your brand. You control:
- Your domain name (yourbrand.com)
- Your design, colors, and layout
- Your checkout experience
- Your customer communication
- Your pricing and promotions
Own Your Customer Data
On marketplaces, the platform owns the customer relationship. On Shopify, you own:
- Customer emails (build an email list!)
- Purchase history and behavior
- Direct communication channels
- Retargeting opportunities
This is huge for long-term growth. Email marketing alone can drive 30–40% of revenue for established POD brands.
Scalability Without Limits
Shopify scales with you. Whether you're selling 10 products or 10,000, making $1,000/month or $100,000/month, Shopify handles the growth without changing platforms.
POD App Ecosystem
Shopify's app store has the best POD integrations available. Most major POD suppliers — including Yoycol, Printful, and Printify — have native Shopify apps that sync products, inventory, and orders automatically.
SEO Power
With Shopify, you can optimize every page for Google search. Product pages, collection pages, and blog articles all contribute to your organic traffic — which compounds over time.
Step 1: Set Up Your Shopify Account
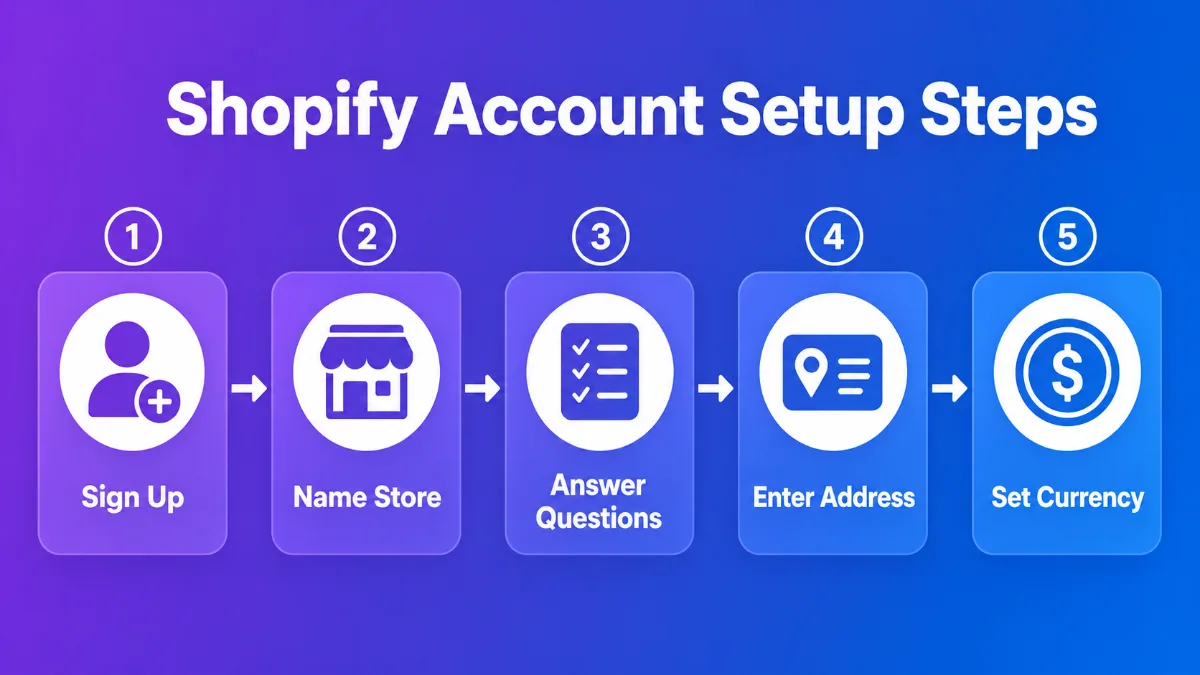
Getting started on Shopify is straightforward:
- Sign up at shopify.com — free trial available (typically 3 days free, then $1/month for 3 months)
- Choose your store name — this becomes your default Shopify subdomain (yourbrand.myshopify.com). You'll add a custom domain later.
- Answer the setup wizard questions:
- What are you selling? (Select "Products")
- Are you already selling? (Select based on your situation)
- What's your current revenue? (Be honest — doesn't affect your account)
- Enter your store address and contact info — used for shipping calculations and customer service
- Set up your currency — USD for North American market
You now have a basic Shopify store. Let's customize it.
Step 2: Choose and Customize Your Theme
Your theme determines how your store looks and feels. For POD stores, the theme should be clean, fast, and product-focused.
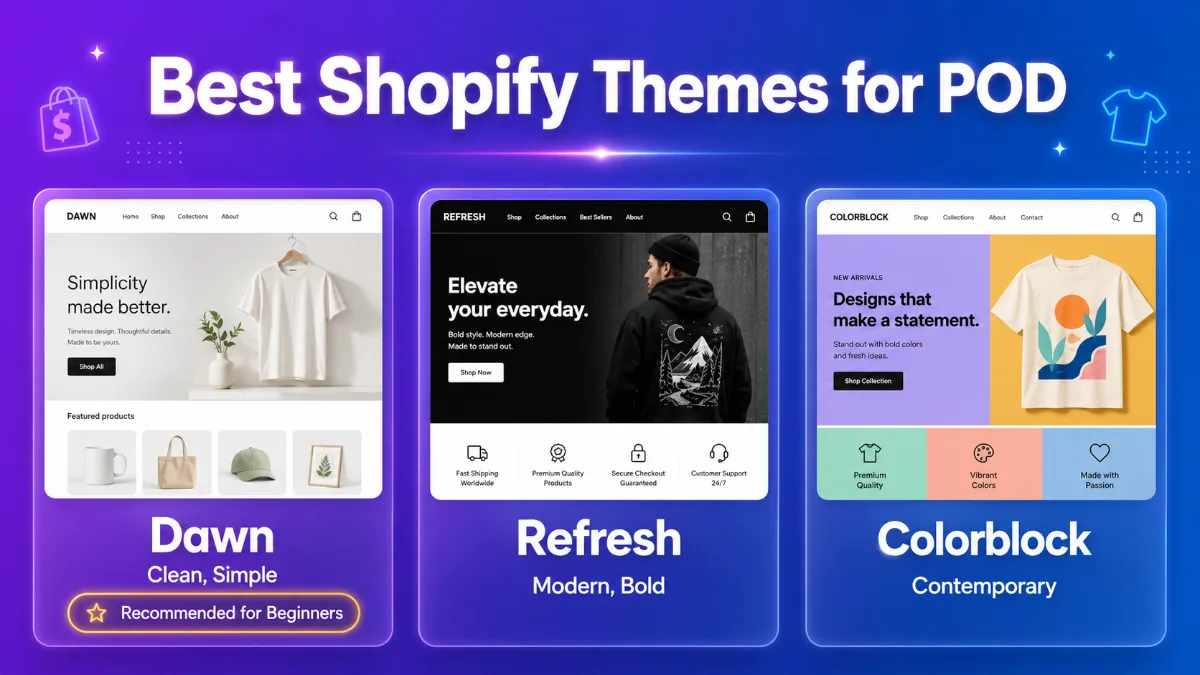
Free Themes That Work Great
Dawn (recommended for beginners):
- Shopify's default free theme
- Clean, modern, fast-loading
- Perfect for product-focused stores
- Mobile-optimized
- The most-used Shopify theme globally — 15.1% of 3.5M+ tracked stores, according to ShopThemeDetector’s live Shopify statistics.
Refresh:
- Modern design with bold typography
- Good for lifestyle and fashion brands
Colorblock:
- Bold, contemporary look
- Great for graphic-heavy POD products
Premium Themes (Optional)
If you want more customization, premium themes ($150–$350 one-time) offer:
- More layout options
- Advanced product galleries
- Better filtering and search
- Built-in promotional features
Popular premium POD themes: Prestige, Impulse, Warehouse.
Theme Customization Essentials
Regardless of which theme you choose, customize these elements:
Logo:
- Upload a clean, simple logo
- Use PNG format with transparent background
- Keep it readable at small sizes (mobile header)
Colors:
- Pick 2–3 brand colors
- Use them consistently across your store
- Ensure text is readable against background colors
Typography:
- Choose 1–2 fonts max
- Ensure body text is large and legible (16px minimum)
- Headlines can be bolder and larger
Homepage layout:
- Hero banner with your best product or collection
- Featured collection (your top products)
- Brand story section (who you are, what you sell)
- Testimonials or social proof (add as you get reviews)
Step 3: Install a Print on Demand App
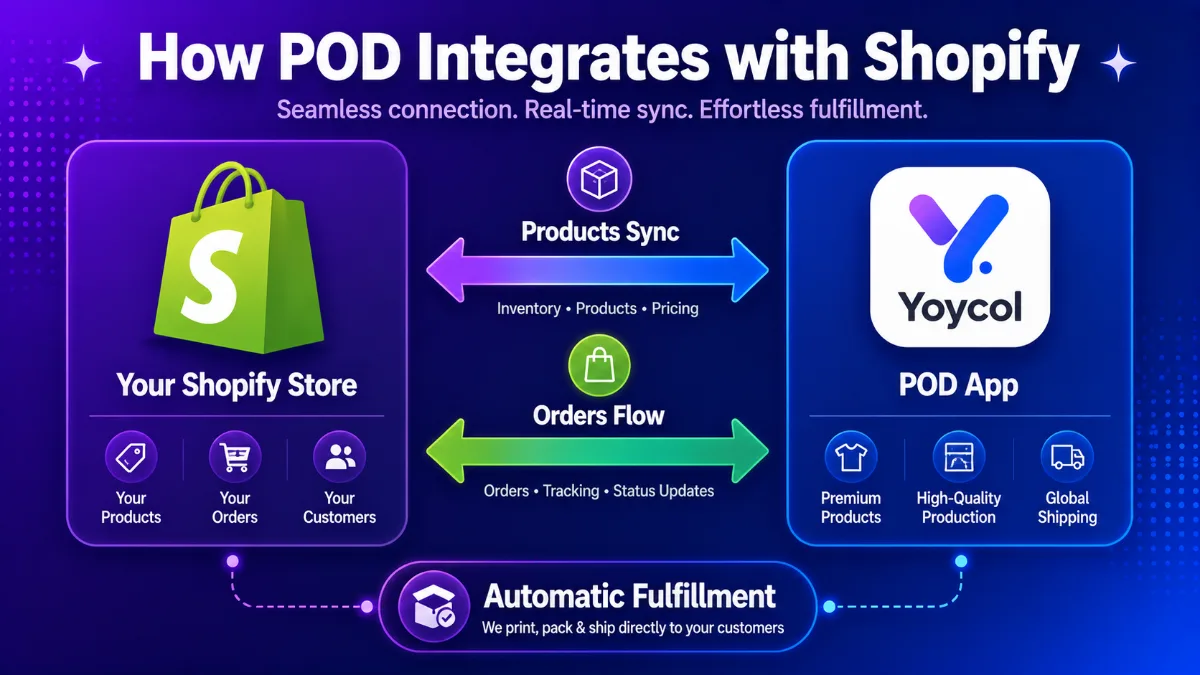
This is where Shopify connects to your POD supplier. The right app handles product import, order fulfillment, and inventory sync automatically.
Top POD Apps for Shopify
Yoycol (recommended for unique, high-margin products):
- 1,600+ all-over-print products — the widest AOP catalog available
- Direct Shopify integration — products sync automatically
- Free 3D design tools built in
- No minimum orders — sell one product at a time
- Competitive base pricing — strong margins even after Shopify's fees
- Global fulfillment — ships worldwide
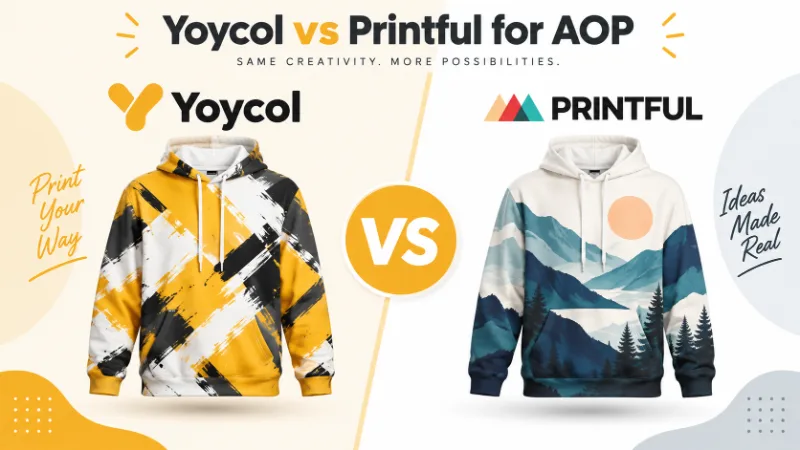
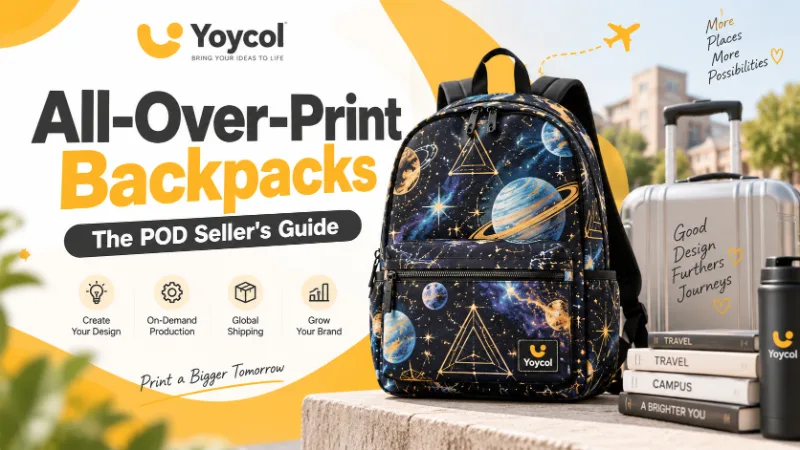
Yoycol is the best choice for Shopify sellers who want to differentiate with premium AOP products — hoodies, leggings, blankets, backpacks — that most POD sellers don't offer. For a deep dive into selling AOP specifically on Shopify, our complete AOP-on-Shopify guide covers the full process.
Printful:
- Strong branding tools (custom packaging, branded slips)
- US and EU fulfillment for fast domestic shipping
- Higher base costs, smaller AOP selection
- Best for brand-focused sellers
Printify:
- Marketplace of competing suppliers
- Variable quality and pricing
- Good for testing different price points
- Best for price-conscious sellers
How to Install Your POD App
- Log into your Shopify admin → Apps → Shopify App Store
- Search for your POD supplier (e.g., "Yoycol")
- Click "Add app" and authorize the installation
- Connect your accounts — log into your POD supplier account when prompted
- Sync your first products — create products in the POD app and push them to Shopify
Once connected, every product you create in your POD supplier automatically appears in your Shopify store. When a customer orders on Shopify, the order flows to your POD supplier for production and shipping — no manual work required.
Ready to install? Browse Yoycol's Shopify integration →
Step 4: Configure Your Shopify Settings
Before you launch, configure these essential settings.
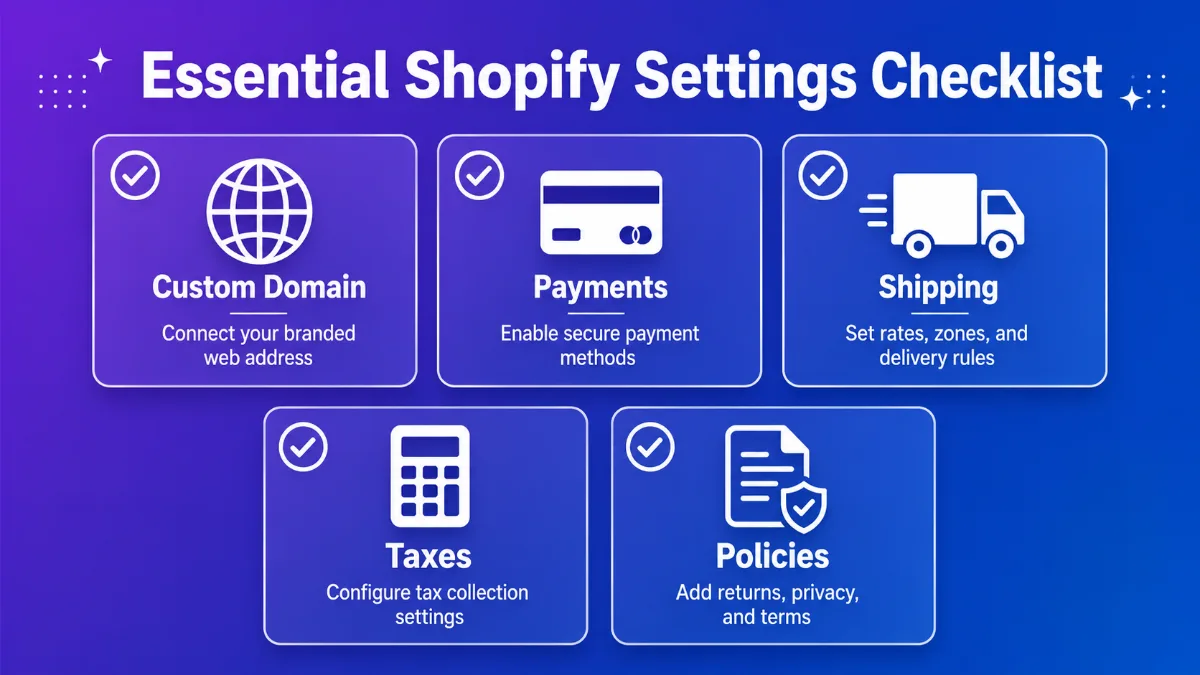
Custom Domain
Buy a custom domain to replace your default .myshopify.com address:
- Where to buy: Shopify ($14/year), Namecheap, or Google Domains
- Best practices: Short, memorable, related to your niche, .com preferred
- How to connect: Shopify admin → Settings → Domains → Connect existing domain
Payment Gateway
Set up how you'll receive payments:
- Shopify Payments (recommended) — lowest fees, easiest setup
- PayPal — add as secondary payment option
- Other gateways — available depending on your country
Shipping Settings
Configure shipping rates:
- Free shipping over $X — increases average order value (recommended)
- Flat rate shipping — simple and predictable
- Real-time carrier rates — most accurate but requires higher Shopify plan
Pro tip: Offer free shipping over a threshold (e.g., $50). Bake the shipping cost into your product prices. "Free shipping" converts better than "$5 shipping."
Taxes
Configure tax collection based on your location:
- US sellers: Collect sales tax in states where you have nexus
- EU sellers: Configure VAT collection
- Consult a tax professional for specific guidance
Policies
Create your store policies (Shopify has templates):
- Refund policy — be clear and fair
- Shipping policy — processing times and delivery estimates
- Privacy policy — how you handle customer data
- Terms of service — legal protection
Step 5: Create Your First Product Pages
Your product pages are where sales happen. Optimize them carefully.
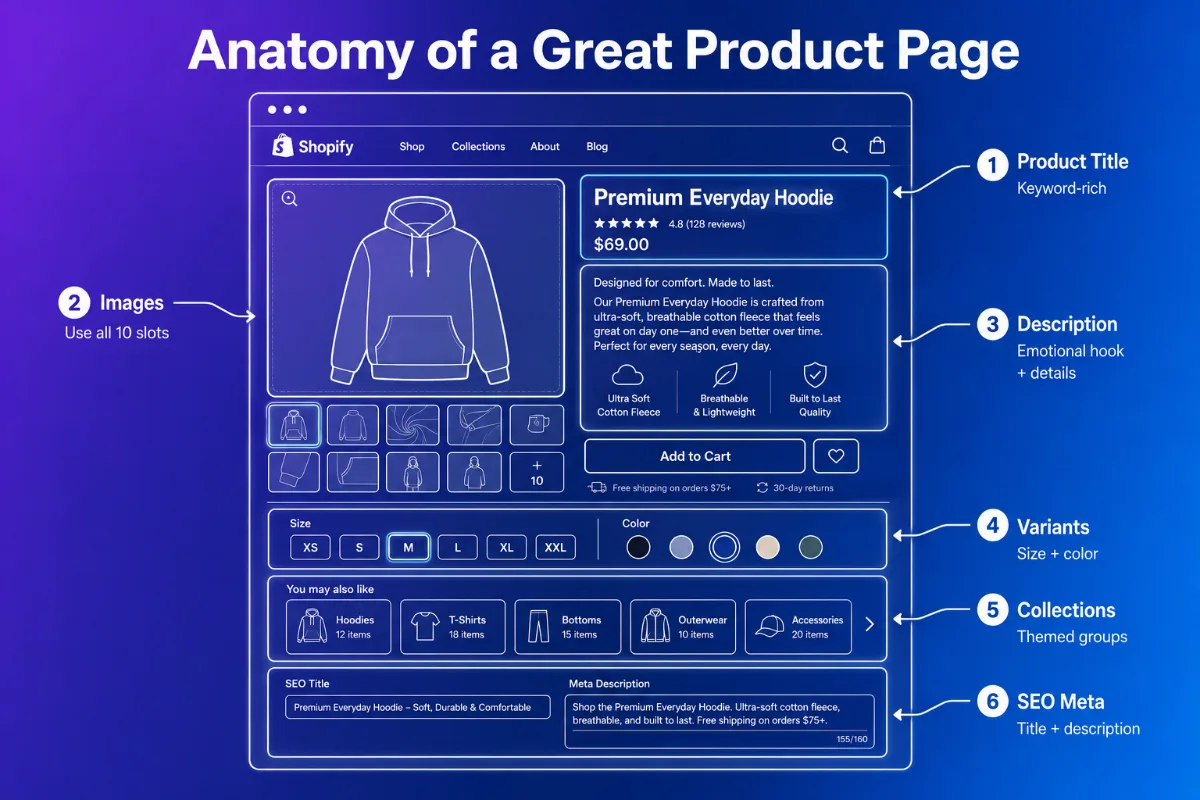
Product Page Essentials
Title:
- Include the product name and key descriptor
- Example: "Galaxy All-Over-Print Hoodie — Unisex Pullover"
- Keep it under 70 characters for SEO
Description:
- Start with the benefit / emotional hook
- Describe the design and who it's for
- Include sizing and fit information
- Add care instructions
- Mention shipping times
- Include keywords naturally
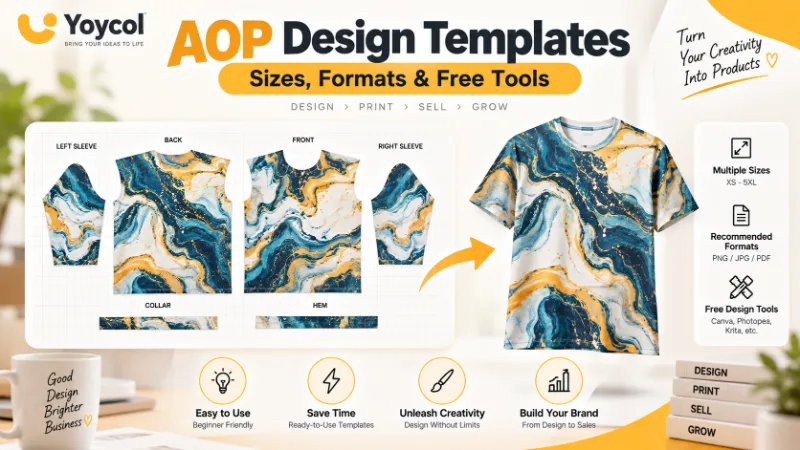
Example description: "Wrap yourself in the cosmos with our Galaxy All-Over-Print Hoodie. This unisex pullover features a vibrant nebula pattern that covers the entire garment — front, back, sleeves, and hood — using premium dye-sublimation for colors that won't fade or crack. Perfect for astronomy lovers, stargazers, and anyone who wants a hoodie that stands out. Made from soft, durable polyester with a comfortable relaxed fit."
Images:
- Use all available image slots
- Front, back, side, and detail shots
- Lifestyle mockups (product on a person)
- Size chart image
- Close-up of design details
- Brand identity image
Variants:
- Set up size variants (S, M, L, XL, 2XL)
- Add color variants if applicable
- Set accurate weights for shipping calculations
Collections:
- Organize products into themed collections (e.g., "Galaxy Collection," "Pet Collection")
- Collections improve navigation and SEO
- Each collection should have its own description
Shopify SEO Basics
- Page title: Your product title + your brand name (under 60 characters)
- Meta description: 150–160 characters describing the product with keywords
- URL handle: Short, keyword-rich (e.g., "galaxy-aop-hoodie")
- Image alt text: Descriptive keywords for each image
- Headings: Use H1 for product title, H2/H3 for sections
Step 6: Drive Traffic to Your Shopify Store
Unlike Etsy, Shopify doesn't have built-in traffic. You need to drive your own.
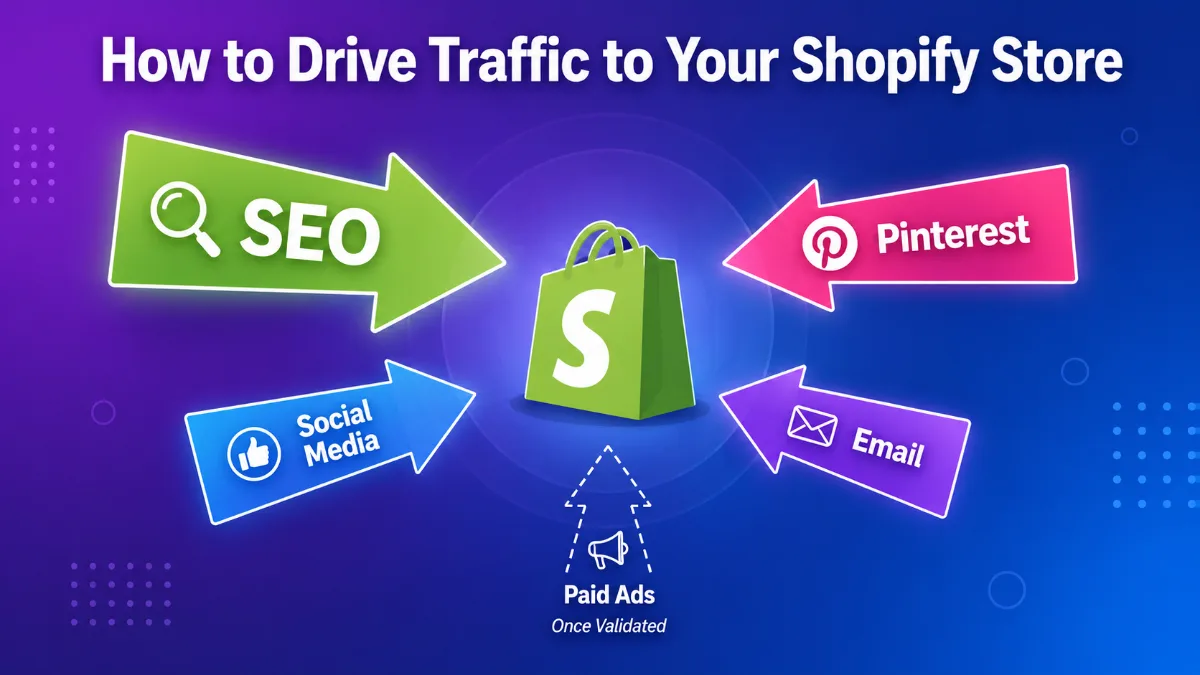
SEO (Long-term, Free Traffic)
Shopify's biggest advantage over marketplaces is SEO. Optimize:
- Product pages — keyword-rich titles, descriptions, and meta tags
- Collection pages — descriptive introductions with keywords
- Blog articles — informational content that drives traffic to your products
Start a blog covering topics your audience cares about. If you're selling galaxy hoodies, write about "best gifts for astronomy lovers" or "the science behind nebula colors." Blog traffic compounds over time and funnels readers to your products.
Pinterest (Free, Long-Lifes Traffic)
Pinterest is a visual search engine, not a social network. It's perfect for POD products:
- Create 2–3 pins per product
- Use keyword-rich pin descriptions
- Pin consistently (5–10 pins/day using scheduling tools)
- Pins last months (unlike Instagram posts)
Social Media (Brand Building)
- Instagram: Product photos, lifestyle shots, behind-the-scenes
- TikTok: Short videos showing products, design process
- Facebook: Community building, Facebook Groups
Email Marketing (Highest ROI)
Start building your email list from day one:
- Offer a 10% discount for signups
- Use a popup or embedded form
- Send new product launches and seasonal promotions
- Email marketing drives 30–40% of revenue for established brands
Paid Ads (Once Validated)
Once you have products that sell organically:
- Facebook/Instagram Ads — target specific niches
- Google Shopping Ads — appear in product searches
- Start with $5–$10/day on your best products
Step 7: Launch and Grow
Your store is ready. Time to launch.
Pre-Launch Checklist
- Theme customized with logo, colors, and layout
- 15–20 products listed with optimized pages
- Collections created and organized
- Custom domain connected
- Payment gateway configured
- Shipping rates set (free shipping over threshold)
- Store policies filled out
- About page written
- Email signup form installed
- Social media accounts created
- Pinterest boards set up
Launch Day
- Remove password protection from your store
- Announce launch on social media
- Pin all products to Pinterest
- Send launch email to any existing contacts
- Place a test order yourself (verify the full flow works)
Month 1–3: Growth
- Add 5–10 new products per week
- Start blog content (1–2 articles per week)
- Pin consistently on Pinterest
- Build email list
- Track analytics: traffic sources, conversion rate, best sellers
- Double down on winning products
Month 3–6: Scale
- Start small paid ad campaigns on best sellers
- Expand to additional traffic channels
- Refine product catalog based on data
- Implement email marketing campaigns
- Consider expanding to Etsy as additional channel
Common Shopify POD Mistakes to Avoid
- Skipping SEO — Shopify stores without SEO don't get found. Invest from day one.
- Poor product photography — bad mockups kill conversions. Use quality mockup images.
- No email list — you're leaving 30% of revenue on the table. Start building from day one.
- Underpricing — don't compete on price. Price for profit (50–60% margin).
- Ignoring mobile — 70%+ of traffic is mobile. Test your store on a phone.
- Too many apps — each app slows your store. Only install what you need.
- Giving up too soon — Shopify stores take 3–6 months to build organic traffic. Persistence wins.
Frequently Asked Questions
How much does it cost to start a Shopify POD store? Shopify costs ~$39/month (with free trial and $1/month for the first 3 months). A custom domain is ~$14/year. POD apps are free to install. You can launch for under $60 in the first month.
What's the best POD app for Shopify? Yoycol is the best POD app for sellers who want unique, high-margin all-over-print products (1,600+ items). Printful is best for branding tools and fast US/EU shipping. Printify is best for comparing prices across multiple suppliers.
How do I get traffic to my Shopify POD store? SEO, Pinterest, social media, and email marketing are the best free traffic sources. Paid ads (Facebook, Google Shopping) work once you've validated your products organically. SEO and Pinterest are especially powerful because they compound over time.
Is Shopify better than Etsy for print on demand? They serve different purposes. Etsy is better for beginners who want free marketplace traffic. Shopify is better for building a long-term brand with full control. Many successful sellers use both — Etsy for marketplace traffic, Shopify for brand building and email list ownership.
Do I need coding skills to use Shopify? No. Shopify is designed for non-technical users. Free themes like Dawn are easy to customize without code. Apps handle POD integration automatically. You can build a professional store without writing a single line of code.
How long until my Shopify POD store makes money? Most Shopify stores take 3–6 months to build meaningful organic traffic and consistent sales. The first few months are about building your catalog, creating content, and learning what sells. Sellers who push through the slow start build sustainable businesses.
Ready to set up your Shopify POD store? Create your free Yoycol account and install the Shopify app →
This guide is part of our complete store setup series. Explore our guides on Etsy setup, connecting Yoycol to your store, and order fulfillment.