
Print Specs & File Requirements
Everything you need to prepare production-ready print files: resolution, bleed, color mode, format, and technique-specific requirements.
Start with the exact product template, keep important artwork inside its safe area, and follow the selected print technique requirements.
- Placement printing: use high-resolution artwork and transparent backgrounds where required
- Embroidery: keep text and lines large enough to translate into stitches
- All-over print: use the product-specific template and extend artwork through bleed areas
- Check the final preview and order a sample for color-critical work
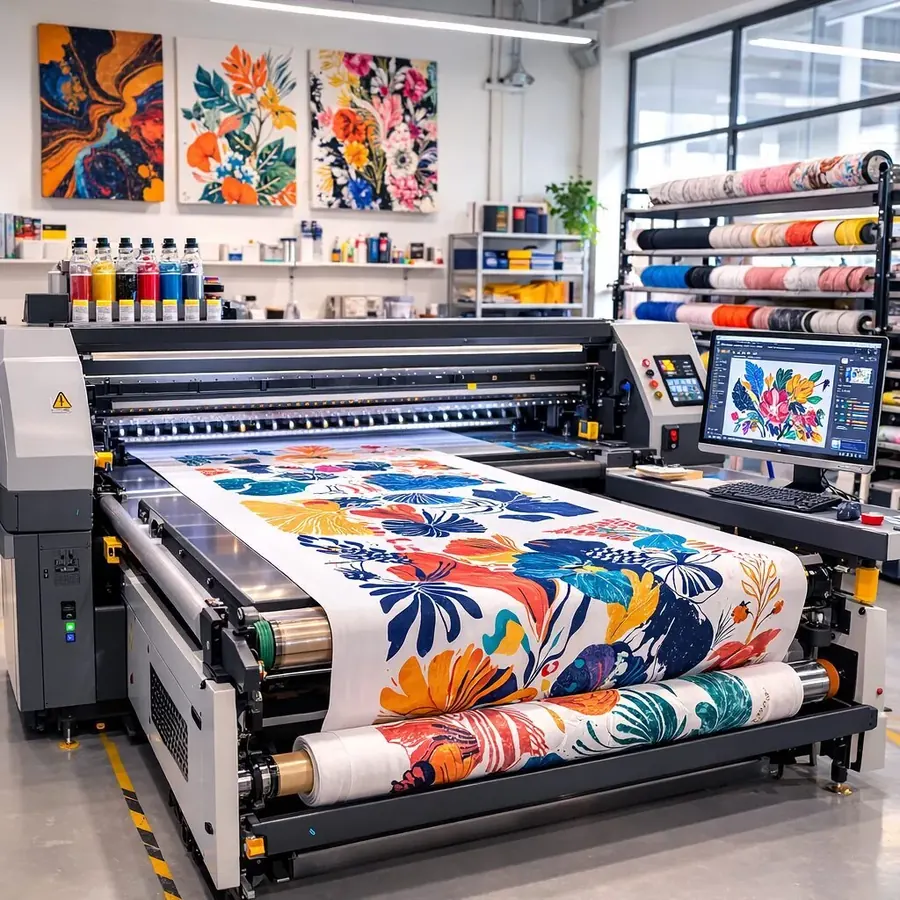
Choose a Print Technique
Compare the artwork and production requirements before opening a product template.
Direct-to-Garment Printing
Photo-quality prints directly on fabric fibers
- Complex multicolor designs and gradients
- Photographic images on apparel
- Small batch and single-unit orders
- Lead time
- 2-5 business days
- Minimum
- 1 unit (true on-demand)
Direct-to-Film Transfer Printing
Vibrant transfers on virtually any fabric
- Polyester and synthetic fabric printing
- Dark garment printing without pre-treatment
- Activewear and sportswear (excellent stretch)
- Lead time
- 2-4 business days
- Minimum
- 1 unit
Machine Embroidery
Premium stitched designs with a professional, textured finish
- Corporate logos and branding
- Team uniforms and workwear
- Caps, hats, and beanies
- Lead time
- 3-7 business days (includes digitizing)
- Minimum
- 1 unit
All-Over Print (Sublimation)
Edge-to-edge designs covering the entire garment
- Fashion apparel and streetwear
- Leggings, yoga pants, and activewear
- Swimwear and rash guards
- Lead time
- 5-8 business days (cut-and-sew)
- Minimum
- 1 unit
Dye Sublimation Printing
Permanent, vibrant prints on polyester and hard surfaces
- Mugs, tumblers, and drinkware
- Phone cases and tablet covers
- Mousepads and desk accessories
- Lead time
- 2-5 business days
- Minimum
- 1 unit
Screen Printing (Silk Screen)
The industry standard for bold, opaque prints at scale
- Bulk promotional apparel (100+ units)
- Simple logos and text designs
- Event merchandise and giveaways
- Lead time
- 5-10 business days (includes screen setup)
- Minimum
- 25 units recommended (1 unit technically possible)
File Requirement Comparison
| Technique | File format | Resolution | Color mode | Maximum print area |
|---|---|---|---|---|
| DTG | PNG (preferred), TIFF, PSD | 300 DPI minimum (600 DPI for fine detail) | RGB (auto-converted to CMYK) | 16" x 20" |
| DTF | PNG (preferred), TIFF, PSD | 300 DPI minimum | RGB (auto-converted) | 24" x 36" |
| Embroidery | See guide | See guide | See guide | 12" x 14" |
| AOP | PNG, TIFF, PSD (with template) | 150 DPI minimum, 300 DPI recommended | RGB (auto-converted to CMYK) | Full garment surface |
| Sublimation | PNG, TIFF, PDF | 300 DPI minimum | RGB | Varies by product |
| Screen Print | Vector (AI, EPS, SVG) strongly preferred | 300 DPI minimum for raster | See guide | 14" x 17" |
Print File FAQ
What file format should I use for print-on-demand?
PNG with a transparent background is suitable for many placement-print workflows. Embroidery and screen printing can require vector or technique-specific files, while all-over-print products use product templates.
What resolution should my artwork use?
Use the resolution shown in the product template or technique guide. Placement prints commonly use 300 DPI, while large all-over-print templates may support a lower effective DPI.
Which print method is best for my project?
Choose based on the fabric, artwork, order size, texture, and coverage you need. Compare the technique cards and confirm the selected product requirements before uploading artwork.
What is bleed area?
Bleed is artwork that extends beyond a trim or seam boundary. It helps prevent unprinted edges after a product is cut and assembled.
How should I prepare files for embroidery?
Use clear artwork with sufficiently large text and line thickness. The design is converted into stitch instructions before production, and very fine detail may need adjustment.
Can one artwork file be used for every technique?
Not always. Digital print techniques can share source artwork, but embroidery, screen printing, and all-over-print products have different production and template requirements.
Ready to Prepare Your Artwork?
Choose a product, review its template, and prepare artwork for the selected production method.